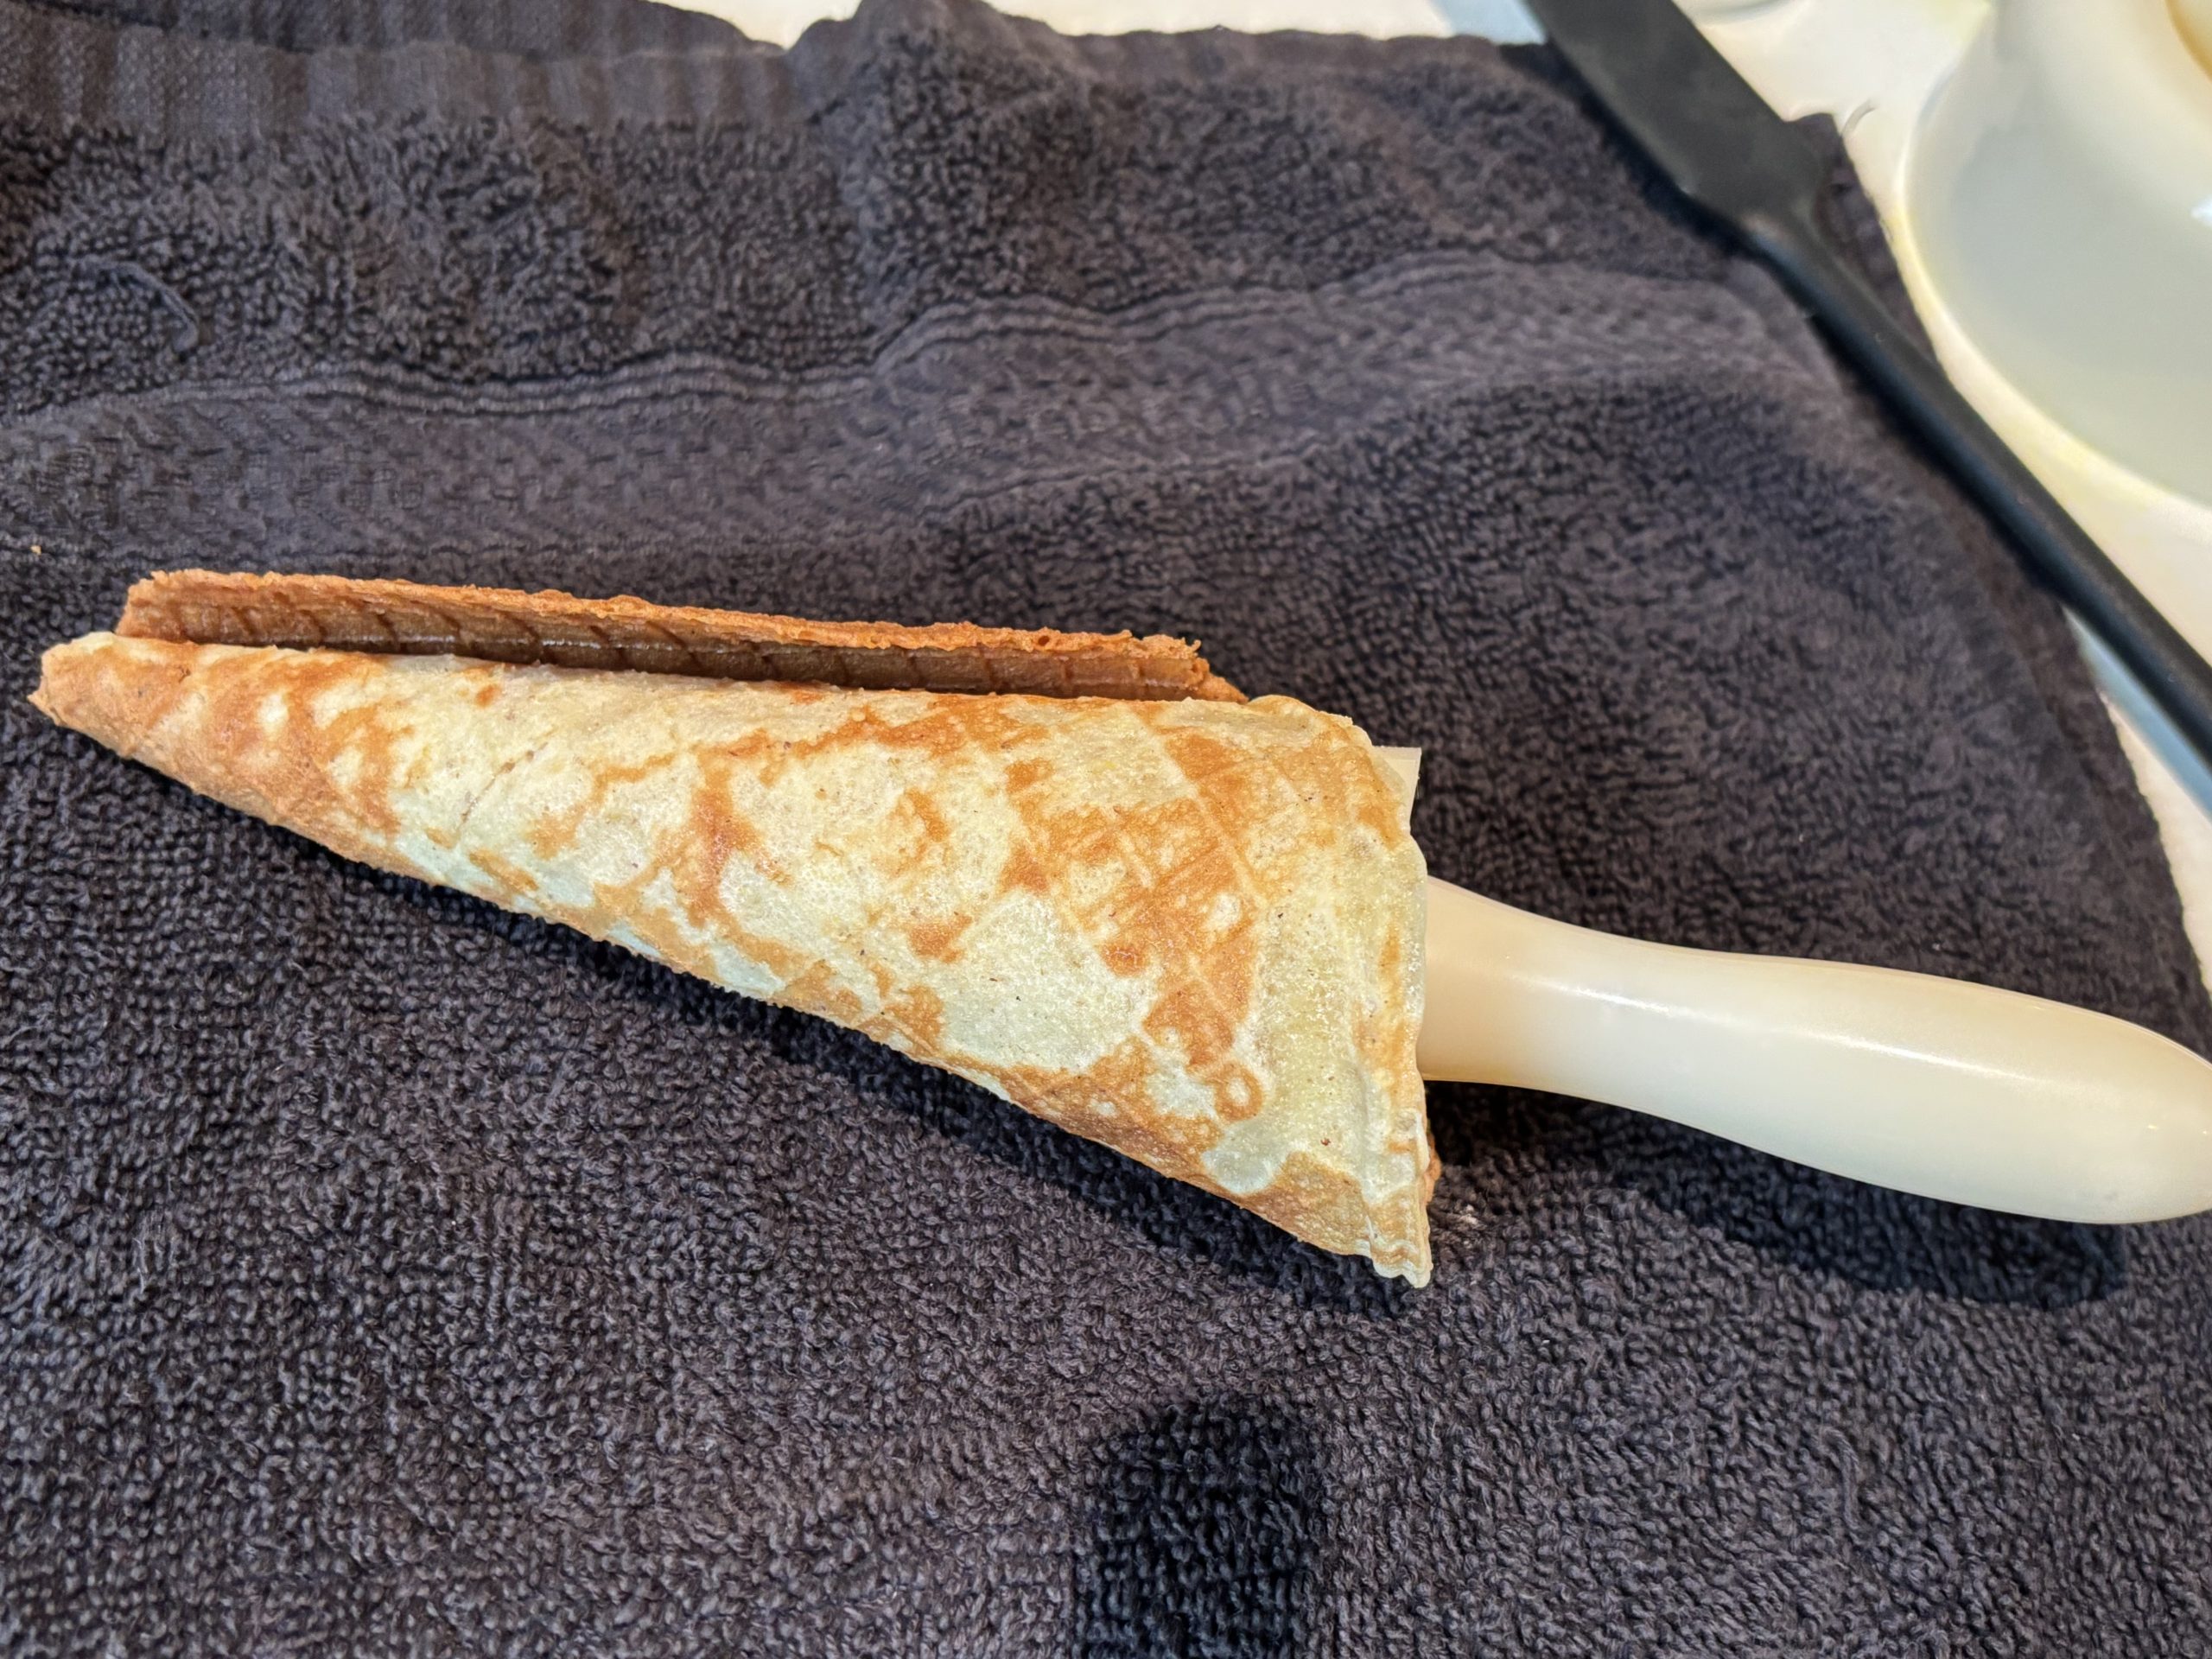
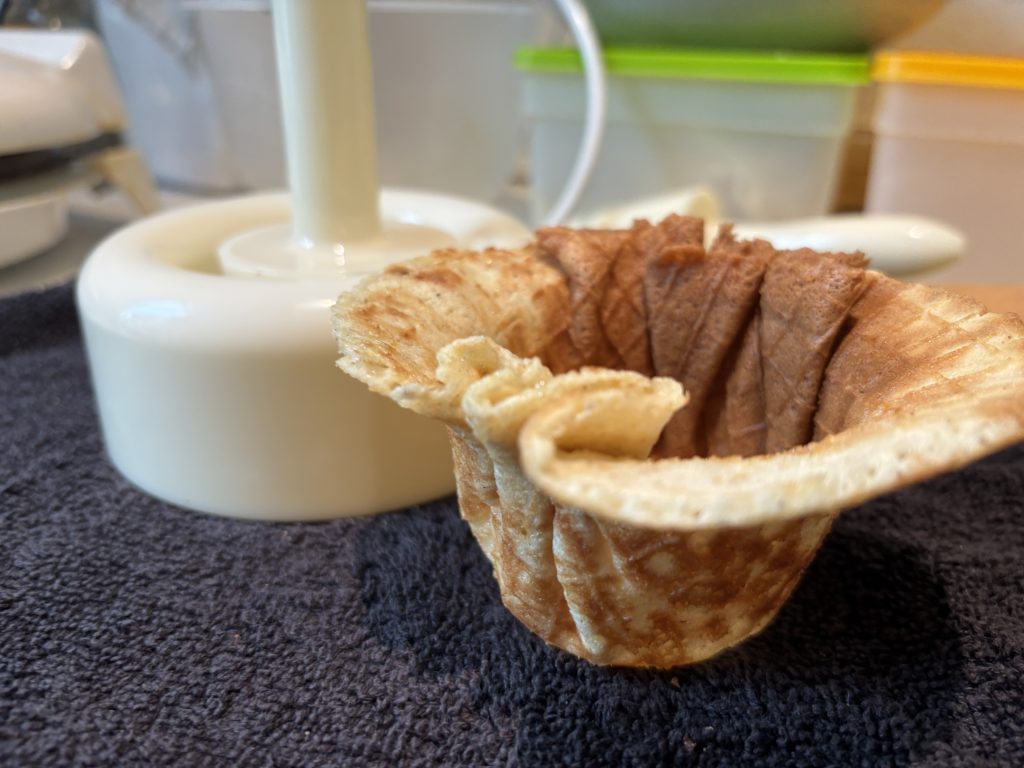
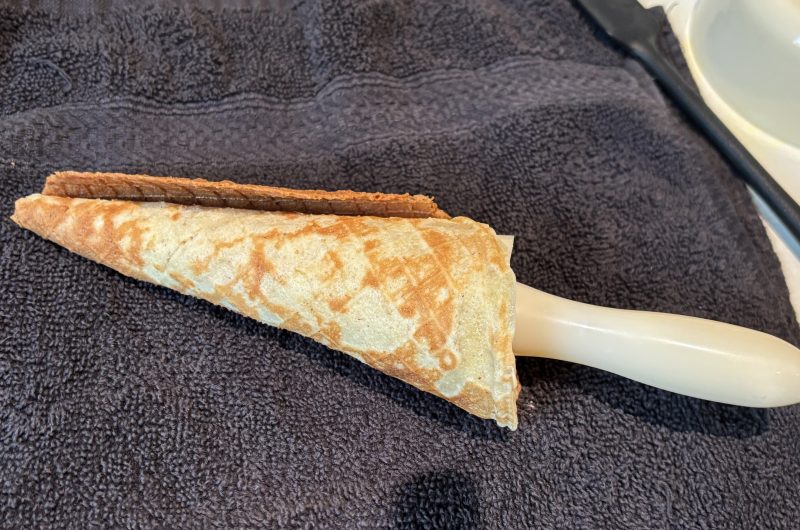
This recipe is so easy to make and doesn’t use a lot of ingredients. You could use a different plant milk if you wanted – I have used rice milk before and it worked just as well. The flax helps to bind it and also gives it a bit more nutritional value. It is pretty hard to roll these as they have to be rolled straight off the waffle cone maker . If you want to get kids involved (or just want an easier way to do things!) then you can use a waffle bowl mould – these are pretty cheap off amazon. You will want also to have a cone holder, again pretty cheap off of amazon and useful for when serving too. You will also want a silicone spatula to help you get the waffle off of the waffle maker. Finally, it is useful to have spray cake oil to oil the waffle cone maker to stop it sticking.
The flour I used is Asda plain gluten free flour, but any plan gluten free blend would work. When you mix the ingredients it is always good to let it rest for half hour or so just to make sure all the flours are hydrated. This helps with the texture and the stability of the cones.
UK links to products you will need are here:
Recipe Steps:
- Measure out flour, sugar, salt, cornflour (cornstarch) and flax seeds and mix together
- Measure milk and vanilla essence and add to the dry mix
- Whisk until combined but don’t over-mix.
- Leave to fully hydrate for half hour or so.
- Heat up your waffle maker and spray with a light coating of oil
- Pour in 1/3 of a cup of mix, press down, and leave to cook for 3 minutes.
- After the 3 minutes is up you need to work quickly. Either use a waffle cone mould or a waffle cone bowl mould. It takes some practice to get the cones to come together and the bottom (and therefore not leave a gaping hole!) but the trick is to line up the end of the cone mould about a cm at least away from the edge of the waffle and roll and squash the end down at the same time. And if there is a big gaping hole, I wouldn’t worry about it, the ice cream never usually lasts long enough to melt out of the bottom. Worst case, you crush it up and use it as a crunchy topping! Or just find a small child to eat the cone by itself, therefore getting rid of all the evidence.
- Leave the cones to cool – they will harden as they cool.
- Serve and enjoy!!!

This post may contain affiliate links. As an Amazon Associate, I earn from qualifying purchases. I only recommend products I use and trust. If you would like to support this blog in a different way then we would appreciate you buying us a coffee as this allows us to continue making content for you.
Vegan & Gluten Free Waffle Cone Recipe
Course: DesertDifficulty: Intermediate6
servings30
minutes150
kcalIngredients
- Wet Ingredients
3/4 cup plant milk
1 tsp vanilla essence
- Dry Ingredients
130g gluten free plain flour blend
70 sugar
pinch salt
1 tbsp cornflour
1 tbsp ground flax seeds
Directions
- Measure out flour, sugar, salt, cornflour (cornstarch) and flax seeds and mix together
- Measure milk and vanilla essence and add to the dry mix
- Whisk until combined but don’t over-mix.
- Leave to fully hydrate for half hour or so.
- Heat up your waffle maker and spray with a light coating of oil
- Pour in 1/3 of a cup of mix, press down, and leave to cook for 3 minutes.
- After the 3 minutes is up you need to work quickly. Either use a waffle cone mould or a waffle cone bowl mould. It takes some practice to get the cones to come together and the bottom (and therefore not leave a gaping hole!) but the trick is to line up the end of the cone mould about a cm at least away from the edge of the waffle and roll and squash the end down at the same time. And if there is a big gaping hole, I wouldn’t worry about it, the ice cream never usually lasts long enough to melt out of the bottom. Worst case, you crush it up and use it as a crunchy topping! Or just find a small child to eat the cone by itself, therefore getting rid of all the evidence.
- Leave the cones to cool – they will harden as they cool.
- Serve and enjoy!!!
Please comment if you try the recipe, I would love to connect and see how it went, and if you would like to see other flavours of ice cream then comment below.